Collecting Indigenous Microorganism (IMO)
*See Facebook Page Home Organic PH post on November 15, 2018 where this article was first posted, plus comments and discussions with followers.
This is the first part of the IMO series.
Collecting Indigenous Microorganism (IMO), which is used to “make the soil rich, speed up the growth of plants, increase plant nutrition, rid of polluted water, and help in digesting food substances”. I followed the step-by-step instructions, as prepared by Andry Lim and Josephine Gamboa in their book, ‘The Essentials of Natural Farming’. It’s my first time to make this, so please feel free to post comments, suggestions, and violent reactions (Lol). See pictures for details for IMO1.
Step 1. “Prepare the 8 1/2″ x 11″ x 3″ perforated plastic tray.”
We did not have such tray, so we perforated a 1.5L plastic ice cream container using a soldering iron.
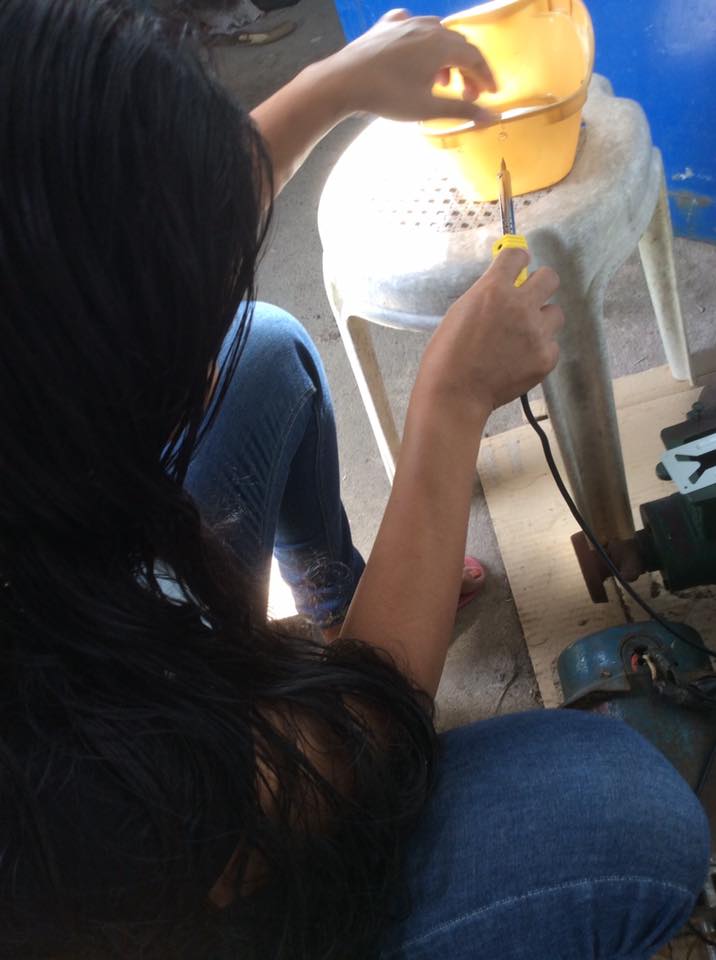
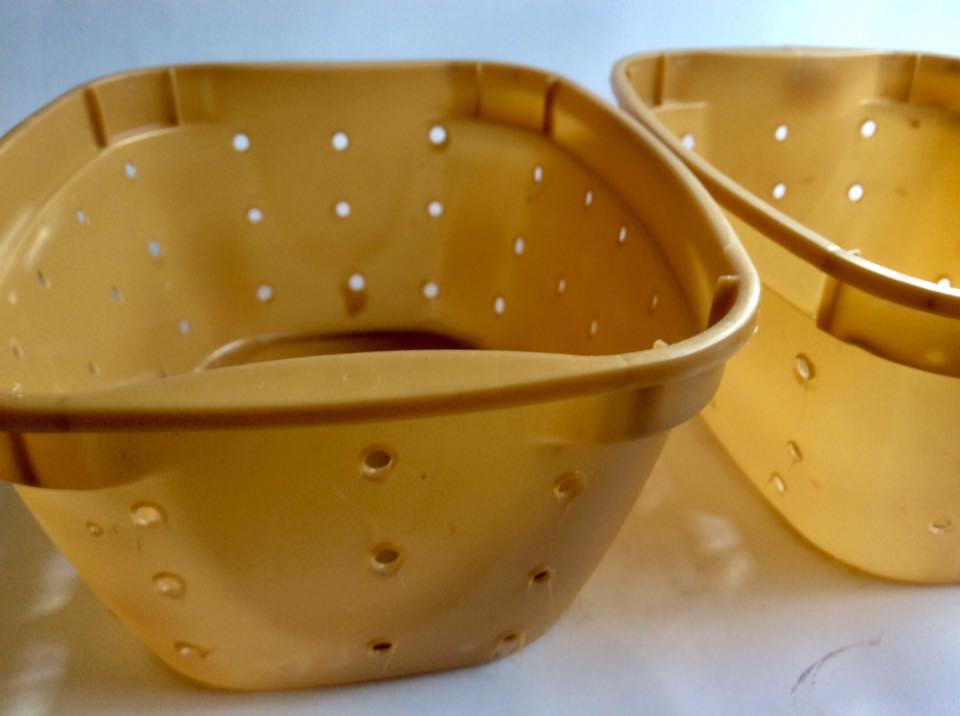
This is the end result of the perforation of the ice cream container. We chose to reuse the plastic containers because, aside from they are free, we also get to reduce plastic waste.
Step 2. “Fill the perforated plastic tray with rice balls not exceeding 7cm high. Do not compress the rice balls to allow the anaerobic bacteria to thrive.”
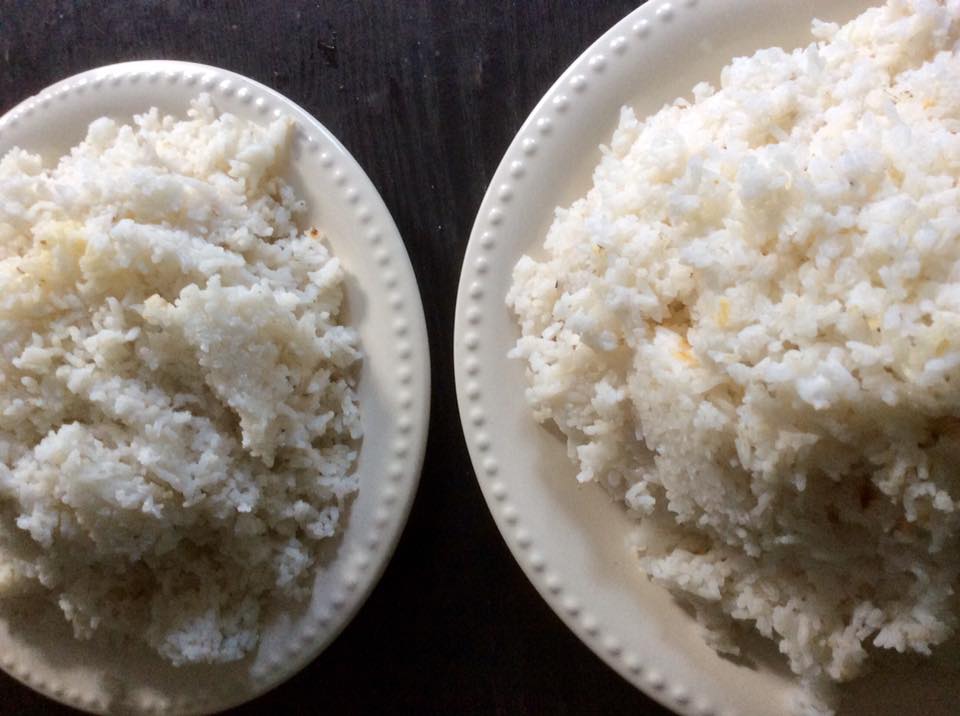
We used 1kg of uncooked rice, and we got these 2 plates of cooked rice from the 1kg uncooked rice. We placed the rice on wide plates to cool them. These plates were in front of the electric fan to speed up the cooling process.
Although the rice ball is not perfectly shaped, we did give space between the rice for aeration. We also did not compress the rice.

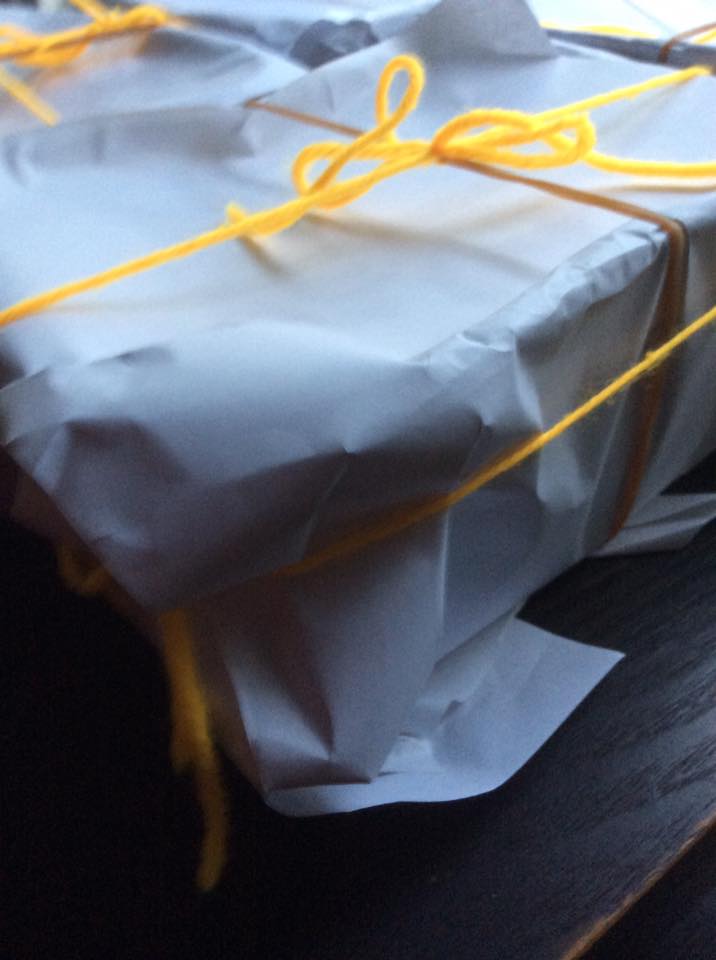
Step 3. ” Cover the opening of the perforated plastic tray with clean paper.”
Step 4. “Affix the clean paper in the perforated plastic tray using a rice straw. You can also use a rubber band or string.”
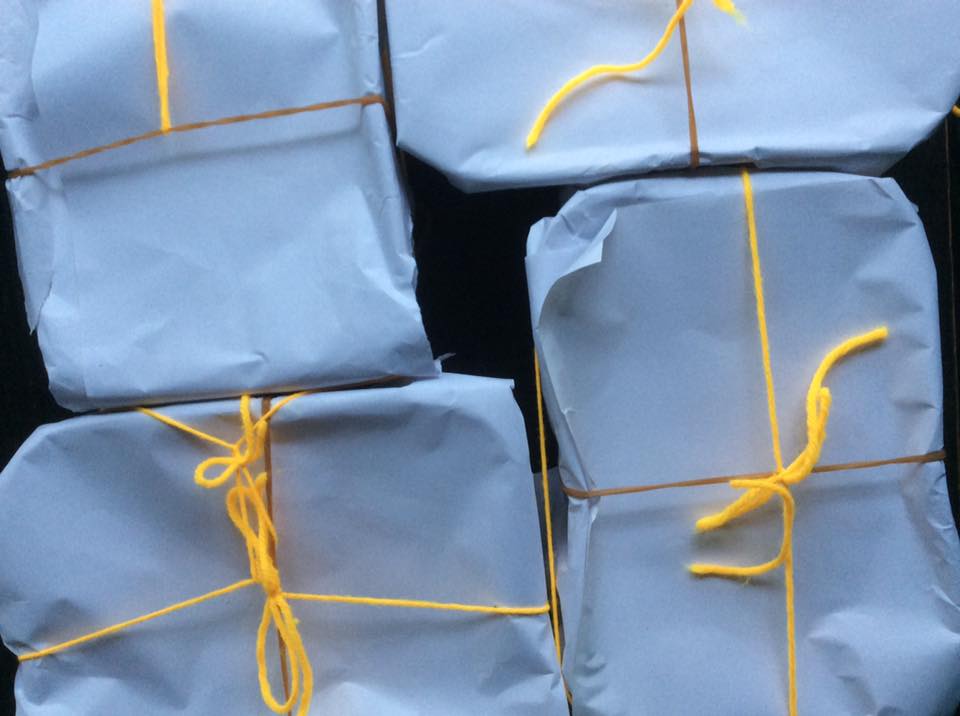
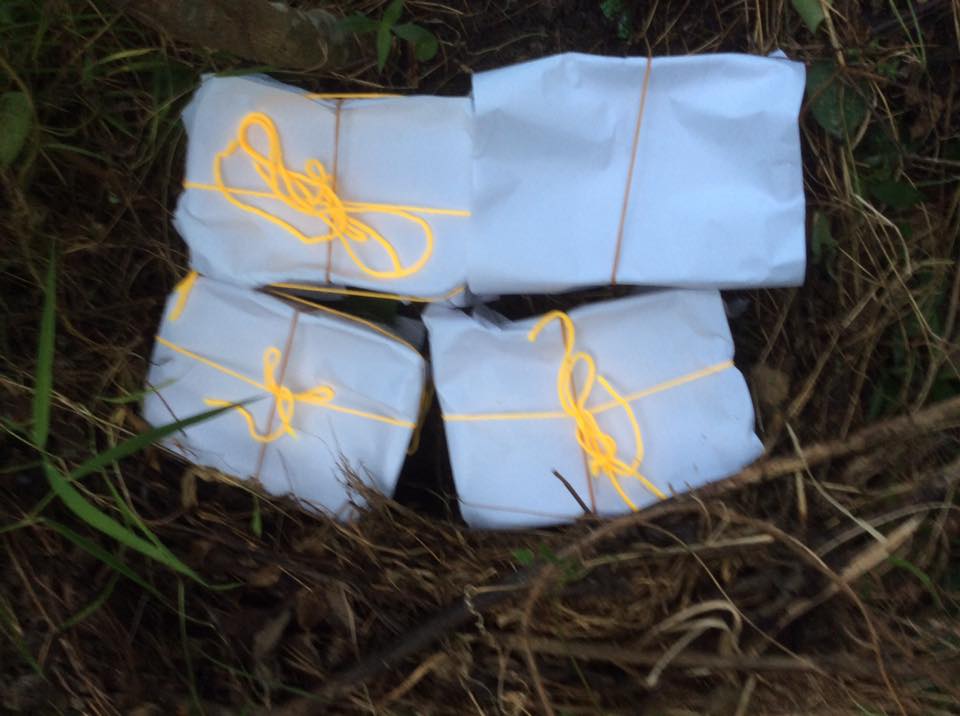
We used bond paper, rubber band, and yarn to cover and secure the container.
This is the side view of the container.
Step 5. “Go to the local forest and bury the perforated plastic tray with leaf molds.”
Sorry, we don’t have local forest, but we do have a garden. We chose this spot because it is relatively cooler, plus the mulch grass is already decaying.
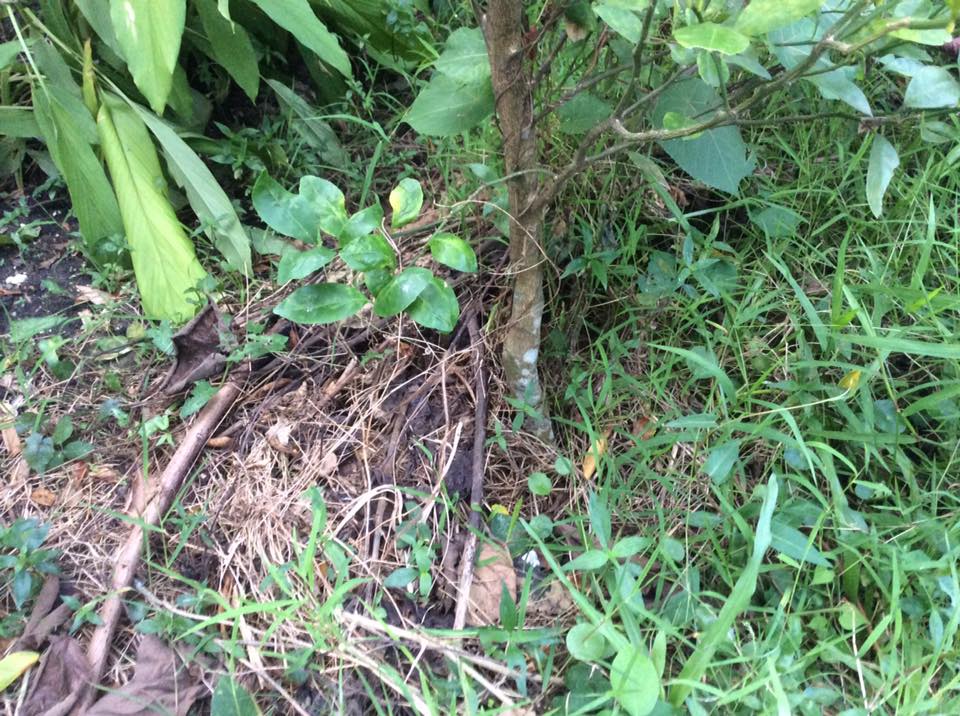
We pushed the decaying grass to the side to make space for the plastic container.
Then we covered the plastic tray with decaying grass and leaves.
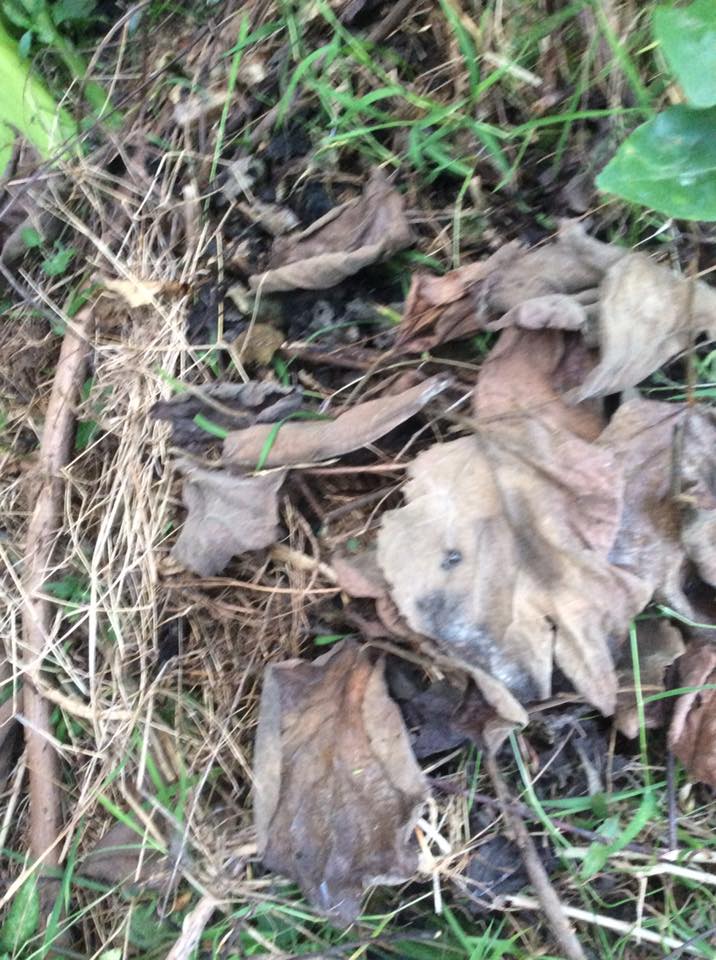
Step 6. “Cover it with a plastic sheet to protect it from rain, wild rats, or small rodents. Put rocks on the surface of the plastic sheet for weight.”
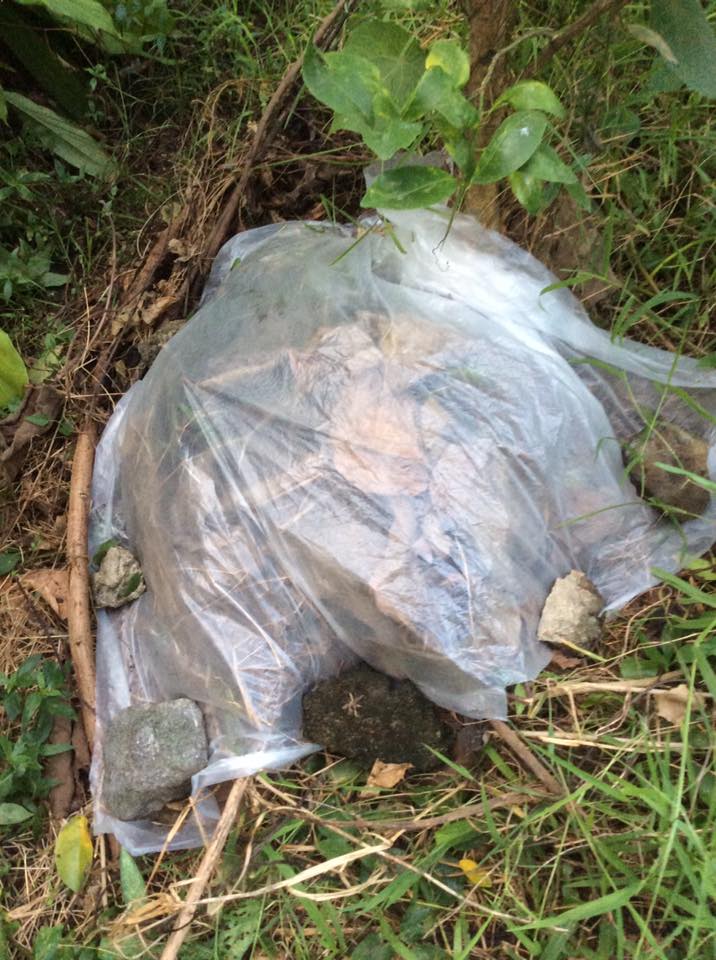
This area doesn’t flood, so I hope this will work.
Step 7. “Remove after three days (in hot areas); five days (in cool areas). White molds will form on the top of the rice. If you see black molds, remove them.”
I will post update on November 18, and I will show what my rice will look like. I hope I did this correctly.
This is the last step for IMO1, and this book gives step-by-step instructions how IMO1 is used to produce organic fertilizer, among many other natural farming techniques.

See more details of this book. Message us if you’d like a copy.